
Clothing for Post Op Drains: What to Wear After Injury
- T. Armstrong

- 2 days ago
- 9 min read
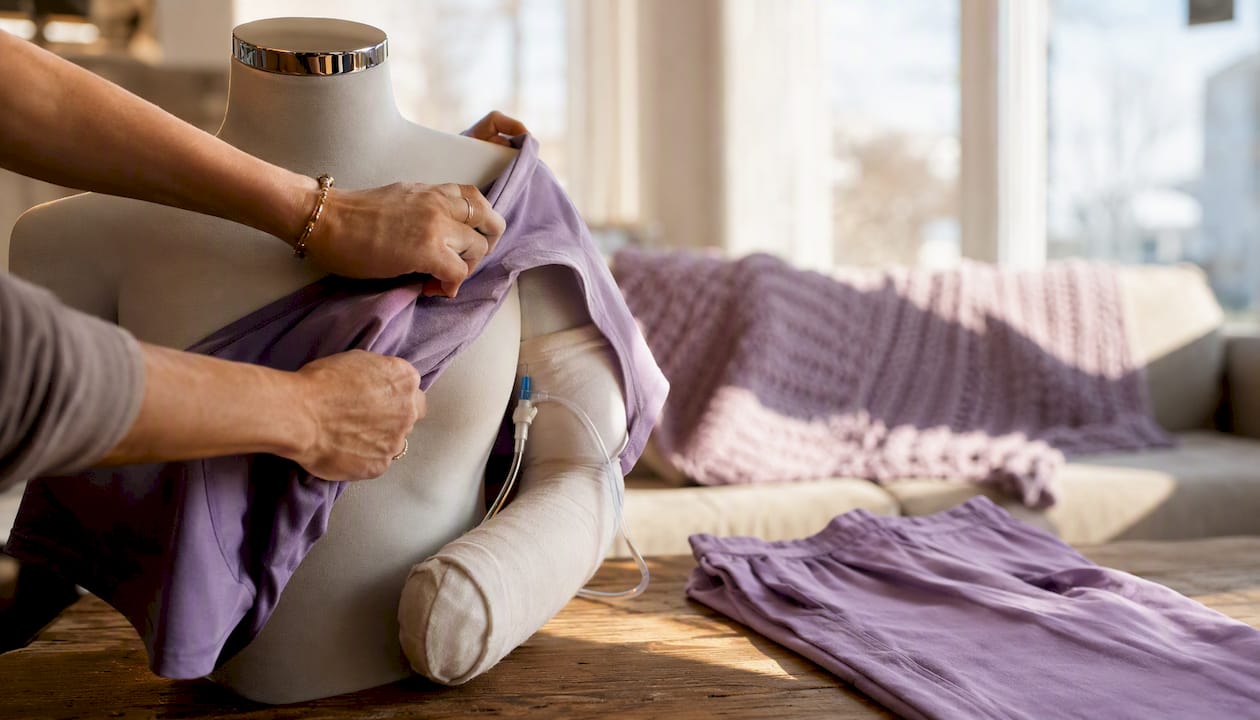
The right answer is easy-on, easy-off clothing with front or side openings, magnetic or Velcro closures, roomy sleeves and legs, and adjustable waistbands. That’s the whole formula for clothing for post op drains when you’re also managing a cast, a brace, or an arm that just won’t cooperate right now. Every feature on that list exists for the same reason: less pulling, less twisting, less pain.
You don’t need to guess at this. Cast and splint care guidance from Nationwide Children’s Hospital lays out a simple dressing rule: injured limb goes in first, always. Design researchers behind the TAM model study on postoperative clothing reached a similar conclusion from a different angle, recommending wider shoulder openings and sleeve zippers specifically to reduce strain during dressing changes. Fracture Club builds its garments around both findings. The reassurance here is real: the right clothing doesn’t just make dressing faster. It protects your privacy during checkups, keeps drain sites accessible without exposing more skin than necessary, and takes one more source of daily pain off your plate.
Key Takeaways
Adaptive clothing with front or side openings, magnetic closures, and roomy panels reduces dressing strain and protects drain sites better than standard clothing.
Point | Details |
Follow the dressing sequence | Injured limb in first when dressing, uninjured side out first when undressing. |
Prioritize openings over style | Front or side openings with magnetic or Velcro closures matter more than fabric color or cut. |
Check seams and zipper placement | Flat seams and reinforced zippers positioned away from drain sites prevent irritation. |
Ask before modifying near a drain | Clinicians should review tubing routes or compression near active drains before you adapt clothing. |
Start with one adaptive piece | Fracture Club’s side magnetic zipper pants and easy-on/off sweatshirt cover the two most common dressing challenges. |
Table of Contents
Shopping Checklist: Must-Have Adaptive Features
Before you buy anything, or before you send a caregiver out shopping on your behalf, run down this list. It covers the features that matter most for surgical drain friendly outfits and cast-compatible pieces alike.
Front or side openings instead of pull-over designs, so nothing has to clear your head or shoulders
Magnetic closures or large-pull zippers that don’t require fine finger control or two working hands
Extended sleeve and pant-leg openings wide enough to clear a cast, brace, or swollen joint
Elastic or drawstring waists that avoid pressing on incision sites or drain tubing
Soft, breathable fabric with flat seams, especially near the torso and hips where drains often sit
A discreet route for tubing so it isn’t pinned under a waistband or trapped in a sleeve
One detail people miss: a garment can check every box above and still fail if the pockets or seams compress tubing. Look for shallow pockets or soft loops that let you tuck tubing loosely rather than tight against the body.
Pro Tip: Bring the actual drain bag or a similar-sized stand-in when you try on clothes. If you can’t move your arm through the sleeve while holding it, the garment isn’t ready for daily use.
When shopping, avoid anything with a tight waistband, a stiff zipper at hip level, or seams that run directly across a drain site. For footwear, slip-on styles or Velcro closures beat laces every time, since bending down or balancing on one leg is exactly what you’re trying to avoid.
How Do You Get Dressed With a Cast or Drain?
The core rule is short enough to memorize: injured limb in first when dressing, uninjured side out first when undressing. This sequence, confirmed by Nationwide Children’s Hospital’s cast care guidance, minimizes the twisting and reaching that causes most dressing-related pain.
Here’s how that plays out in practice, whether you’re seated in a chair or lying down for a drain check:
Lay the garment flat and identify the injured limb’s opening first.
Guide the injured arm or leg through its sleeve or pant leg slowly, supporting the limb rather than letting it hang.
Bring the garment over the torso or hips, keeping tubing visible and unpinched the entire time.
Slide the uninjured limb through last, since it has full range of motion to finish the job.
Fasten closures starting from the point nearest the injury, working outward.
To undress, reverse the order: uninjured side out first, injured side last.
If you’re using a walker or crutches, sit down before you start. Standing dressing invites falls, and a caregiver should stand on your injured side to support the limb during sleeve or pant-leg entry, not just hover nearby.
Pro Tip: Never pull on drain tubing to adjust clothing, even a little. If a sleeve or waistband catches on the tubing, stop and reposition the garment instead of tugging the tube free.
Caregivers should watch drain sites as clothing moves across them and pause immediately if the patient reports sharp pain or resistance. A recent wound needs the same gentle handling every single time you dress, not just on day one.
What Should You Actually Wear? Shirts, Pants, Sleepwear, and Shoes
Different garments solve different problems, and prioritizing correctly saves money and frustration.
Shirts and tops need front or side openings, wide armholes, and magnetic or Velcro closures rather than buttons. If you’re using a sling, look for an open-shoulder design that doesn’t require threading an arm through a sleeve at all. Fabric matters here too: avoid seams that sit directly over a drain entry point on the chest or side. A front-opening approach after shoulder surgery reduces strain enough that clinicians recommend it specifically for one-handed dressing.
Pants and bottoms should have elastic waistbands, side zips, and generous leg openings, especially if you’re accommodating a walking boot or lower-limb cast. Split-front designs let you dress without lifting the leg high, which matters more than people expect once a cast adds weight and bulk.
Sleepwear deserves its own attention because you’re lying down, often being checked overnight. Front-fastening pajama tops and loose pants that don’t bunch make nighttime drain monitoring far less disruptive.
Footwear rounds out the list: slip-on styles, Velcro closures, and non-slip soles. Swelling is common after injury, so avoid anything with a fixed, narrow fit.
Garment Type | Key Opening | One-Handed Dressing | Drain Access | Best Use Case |
Front-opening shirt | Front or side, magnetic/Velcro | Yes | Good, chest and side visible | Upper-limb injury, sling use |
Side-zip pants | Side seam, full-length zip | Yes, with support | Good, hip and thigh access | Lower-limb cast, walking boot |
Front-fastening sleepwear | Front, snap or Velcro | Yes | Excellent, overnight checks | Nighttime drain monitoring |
Slip-on/Velcro shoes | Top opening, no laces | Yes | Not applicable | Swelling, balance limitations |
Fabrics and Seams That Actually Matter
Material choice isn’t cosmetic. It decides whether a garment stays comfortable through weeks of recovery or starts causing skin irritation by day three.
Breathable cotton blends work well against skin near a drain site, while moisture-wicking panels help if you’re sweating more than usual during rehab. Low-stretch fabric holds its shape around fastenings, but high-stretch panels near the shoulders or hips make dressing easier when a cast limits movement. Flat or covered seams matter most directly over drain entry points and incision lines, where a raised seam can rub with every movement.
Feature | Why It Matters | Care Note |
Flat or covered seams | Prevents rubbing at incision or drain sites | Check seams haven’t stiffened after multiple washes |
Reinforced zipper placement | Keeps hardware away from pressure points | Avoid high heat, which can warp zipper teeth |
Moisture-wicking fabric | Reduces skin irritation from sweat | Air dry when possible to preserve wicking finish |
Magnetic closures | Enable one-handed fastening | Skip fabric softener, which can weaken magnet adhesive over time |
Pro Tip: Do a practice dressing the moment a new garment arrives, before you actually need it for a clinic visit. That’s when you’ll catch a seam that rubs or a zipper pull that’s too small to grip.
Adapting Clothes You Already Own
Not everyone can shop for a full adaptive wardrobe right away, and that’s fine. A few quick fixes buy you time.
Sew a short side zip into an existing pair of pants at the outer seam.
Replace small buttons with Velcro tabs or add a large fabric loop to existing zipper pulls.
Create a soft, loose fabric loop near the waistband to route drain tubing, never pinned tight against skin.
Choose shirts one size up temporarily, since extra room reduces the need to stretch fabric over a cast.
Dressing aids help too, and they’re inexpensive:
A long-handled shoehorn removes the need to bend down
A reacher or dressing stick helps guide clothing over a cast without straining your back
A button hook and sock aid handle fine motor tasks one-handed
A non-slip mat keeps you steady while putting on shoes
If tubing ever feels pinched, pulled, or difficult to see through clothing, stop the adaptation and ask nursing staff before continuing. A safety pin holding a fabric loop is a reasonable temporary fix. A safety pin anywhere near the tubing itself is not.
When Should You Ask Your Clinician First?
Ask before you route tubing through a garment, apply anything with compression near a drain, or modify clothing in a way that could shift a wound dressing. That’s the line between a helpful adaptation and a risky one.
Specific situations that call for a clinician’s input rather than a guess:
New or unusual drain output you haven’t seen before
Increased pain specifically during dressing or undressing
A change in mobility device, like moving from a walker to crutches
Any garment that presses near a vascular or nerve repair site
Rehabilitation nursing staff routinely flag clothing modifications near active drains as a safety checkpoint, not an afterthought. If a garment change touches the area around a wound or drain, general advice like this article should defer to whatever your care team has already told you.
General guidance is a starting point. Your clinician’s specific instructions for your injury always take priority.
The Research Behind Adaptive Recovery Design
A 2024 systematic literature review on adaptive apparel found that orthopedic-specific clothing measurably reduces physical strain during dressing and better supports the workflow of rehabilitation nursing. That’s not a small claim. It means the features on your checklist, wide openings, magnetic closures, flat seams, aren’t stylistic choices. They change how much effort and pain a dressing routine actually requires.
The TAM model study gets specific about what works: expanding shoulder allowance by 4 to 6 centimeters, adding sleeve-opening zippers, and using split-front designs on lower garments. These aren’t hypothetical suggestions. They map almost exactly to features Fracture Club already builds into its garments, including side magnetic zippers on recovery pants designed for lower-limb casts, boots, and drain access.
That overlap between published design research and actual product construction is worth noticing:
Flat seams positioned away from common drain and incision sites
Magnetic zippers instead of small, hard-to-grip pulls
Roomy panels sized for casts and braces, not just aesthetics
Community-tested outfit pairings for slings and walking boots, drawn from real recovery scenarios
What Recovery Clothing Advice Usually Gets Wrong
Most guidance in this space treats adaptive clothing as a temporary inconvenience, something you tolerate until you’re “back to normal.” We’d push back on that framing. The research on postoperative clothing design doesn’t describe a stopgap measure. It describes a genuine reduction in physical strain and pain during one of the most vulnerable parts of your day.
The bigger gap is this: most articles list features (magnetic zippers, elastic waists) without connecting them to the actual dressing sequence that keeps you safe. A garment with every adaptive feature imaginable still causes harm if you put the wrong limb in first or let a caregiver rush the process. Technique and garment design have to work together, and too much advice online treats them as separate topics.
If you take one thing from this guide, prioritize the sequence over the shopping list. Buy one or two well-designed pieces, learn the injured-limb-first rule cold, and only then start expanding your wardrobe. Getting the technique right protects you even in clothes that aren’t perfectly adaptive yet.
Fracture Club Garments Built for This Exact Problem
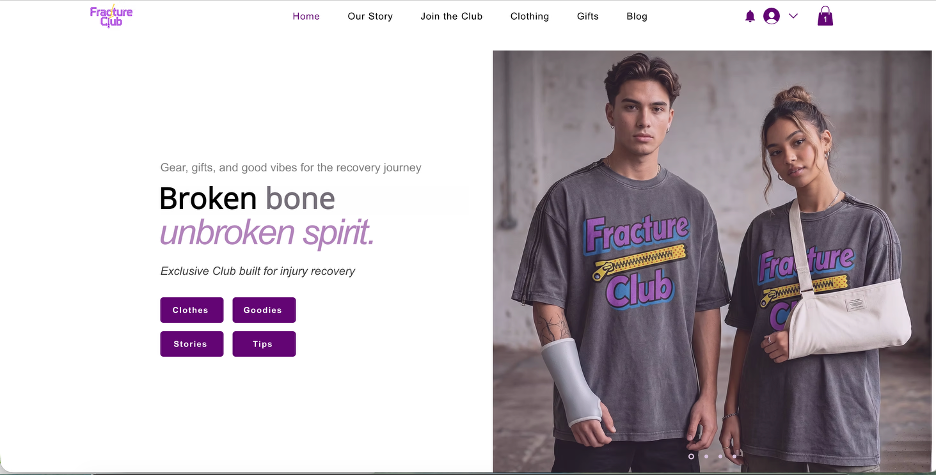
Fracture Club designs recovery wear around the same research this article just walked through, not generic athletic loungewear repurposed for injury. The Unisex Easy-On/Off Adaptive Recovery Pants with Side Magnetic Zippers give you full side access for lower-limb casts, walking boots, or drain sites, without forcing a limb through a fixed opening.
[
](fracture-club.com)
The Unisex Easy-On/Off Sweatshirt for upper limb injury and fracture recovery solves a different problem: it opens fully at the front and shoulder, so a sling doesn’t turn every morning into a wrestling match. Between those two pieces, you cover most of the dressing challenges a cast, brace, or drain creates.
If your situation doesn’t fit a standard size or you’re unsure which closures work for your specific injury, the inquiry services page connects you directly with someone who can help you choose. That’s a faster path than guessing your way through a return process later.
Sources
What should I wear home from the hospital with a drain and a cast? Choose a front-opening top with magnetic or Velcro closures and loose pants with a side zip or elastic waist. Avoid anything that needs to go over your head.
Can I wear regular pajamas with a surgical drain? Regular pajamas work if they fasten in front and don’t compress the drain site. Front-fastening sleepwear designed for recovery makes overnight checks easier.
How do I keep drain tubing secure while getting dressed? Use a soft fabric loop or a shallow pocket near the waistband to hold tubing loosely. Never pin tubing directly or let it get trapped under a tight waistband.
Is it safe to modify my own clothing around a drain? Simple fixes like adding Velcro or a larger zipper pull are generally safe. Ask a clinician before rerouting tubing through a garment or adding anything with compression near the drain site.
Recommended
Comments